Introduction
No, a smart lock does not fit every door. Compatibility depends on the door material and profile, thickness, existing lock preparation, backset, mortise dimensions, panel clearance, opening direction, frame and strike, spindle position, and cable route. Glass doors, narrow aluminum frames, metal gates, wooden entrance doors, and European cylinder doors often require different lock architectures.
For a B2B project, the correct question is not “Does this model fit standard doors?” Standards and common preparations vary by country, door factory, building age, and application. The correct question is: “Does this exact lock, mortise, panel, and accessory set fit this documented door and frame?”
This guide explains what to measure, which photos to take, how to identify common lock types, and how to prepare a door schedule that a supplier or installer can review before samples or mass production.
Short answer: Confirm at least the door material, thickness, opening direction, existing lock type, backset, center distance, mortise case and faceplate dimensions, panel clearance, frame/strike condition, and any multipoint linkage. Send measurements with photos and a scale reference; do not choose a smart lock from panel appearance alone.
Why Smart-Lock Fitment Fails
Fitment failures usually come from missing data rather than exotic engineering. A buyer sends a front photo but not the door edge. A supplier quotes a 6068 mortise without confirming whether the “60” backset and “68” center convention matches the actual lock body. A slim aluminum door cannot accept the selected case depth. A long pull handle blocks the smart-lock panel. A cable crosses a sharp metal edge. A strike plate aligns on the sample door but not on site because the frame gap varies.
The most expensive stage to discover these issues is after hundreds of locks have been packed. Installation preparation should therefore begin before product selection.
Start by Classifying the Door and Existing Lock
Wooden entrance or apartment doors
Wood offers machining flexibility, but the door may contain an existing mortise, cylindrical bore, multipoint system, reinforcement plate, decorative trim, or previous cut-outs. Confirm whether modifications are acceptable and whether the new panel covers old holes.
Metal security doors and outdoor gates
Metal gates may use surface-mounted rim locks or welded lock boxes. Check gate-tube width and depth, welds, plate thickness, weather exposure, frame movement, and inside/outside access. A claimed outdoor rating does not solve mechanical misalignment or exposed cable routing.
Aluminum-frame doors
The critical constraint is often stile width and internal cavity depth. A “slim” front panel does not guarantee that the mortise case fits inside the profile. Request a profile section drawing from the door manufacturer where possible.
Frameless glass doors
Glass generally cannot be drilled or modified like wood after tempering. Use a lock designed for the glass thickness, edge arrangement, single/double door configuration, and clamp or bracket system. Confirm whether a fixed glass panel, wall, or second leaf receives the strike.
Retrofit deadbolt or cylindrical preparations
These can be simpler when the bore diameter, edge bore, backset, door thickness, and bolt alignment match the new hardware. However, regional preparations differ, and decorative plates or unusual reinforcements can interfere.
European-profile cylinder doors
A smart cylinder or retrofit device may preserve the existing multipoint mortise, but cylinder length, inside/outside split, cam type, emergency function, escutcheon clearance, and key operation must still be checked.
The Essential Measurements
Use millimetres as the project master unit and include inches only where the local team requires them. Record the measuring tool and avoid estimating from a photograph.
1. Door thickness
Measure the structural door thickness at the lock edge, excluding removable decorative trim unless that trim sits under the lock panel. Check whether the surface is flat. Some security doors have stepped skins or mouldings that change the effective mounting thickness.
Door thickness affects spindle length, through-bolts, cylinder length, cable reach, and how tightly the two panels clamp the door. Never assume a broad “35–60 mm” range applies to every accessory configuration; use the selected model's drawing.
2. Backset
Backset is the horizontal distance from the door edge or mortise faceplate reference to the centerline of the handle spindle, cylinder, or bore specified by the lock drawing. State exactly which centerline you measured. A general “backset” number without a marked photo can be ambiguous.
The backset influences whether the mortise fits inside the door and whether the panel clears the door edge, glazing bead, gate frame, or pull handle.
3. Center distance
On many mortise locks, center distance is the vertical distance between the handle spindle center and the cylinder/key center. Model names such as 6068 are often used in the market to communicate a 60 mm backset and 68 mm center distance, but naming conventions and case details can differ. Always approve the dimensional drawing rather than relying on the four-digit label.
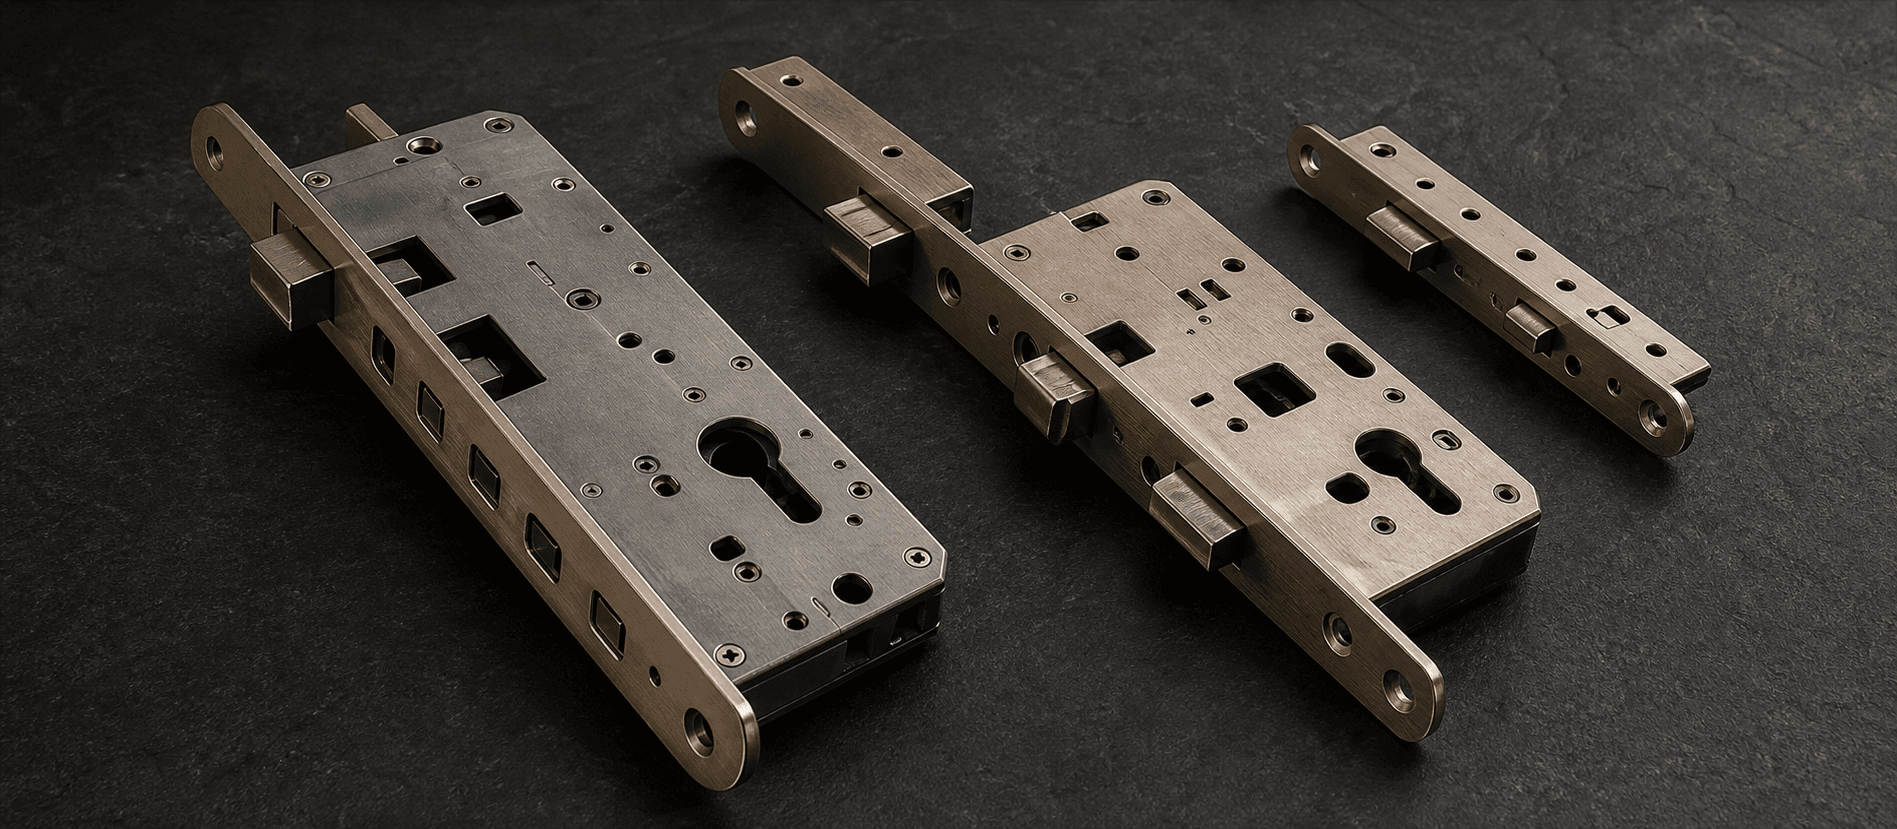
4. Mortise case dimensions
Measure or document:
- Case height, depth, and thickness.
- Faceplate length, width, thickness, and corner shape.
- Latch and bolt positions and projections.
- Spindle and cylinder center positions.
- Screw-hole locations.
- Forend-to-case offsets.
- Any upper/lower rods or multipoint linkages.
Where safe and authorized, remove the existing mortise for measurement. If removal is not possible, provide door-edge photos and the original hardware drawing.
5. Bore and edge preparation
For deadbolts and cylindrical locks, record the main bore diameter, edge-bore diameter, backset, center-to-center distance from other hardware, and door-edge plate size. Include a photo with a ruler held on the same plane as the measurement.
6. Stile and panel clearance
Measure the flat mounting width available on both sides of the door. Note nearby pull handles, glazing beads, mouldings, weather seals, door closers, security bars, and the frame when the door opens. Check both panel width and panel height so existing holes remain covered.
For aluminum profiles, supply outer width and usable internal cavity dimensions. The exterior dimension alone may hide reinforcement or thermal breaks.
7. Door gap and strike condition
Measure the gap between door and frame at the lock position. Document the strike plate, strike box depth, frame material, seals, and whether the door has dropped or rubs. An electronic lock cannot compensate for a door that requires force to latch.
8. Opening direction and handing
Describe the door from a consistent viewpoint. “Left” and “right” can be interpreted differently by markets and suppliers. The safest method is a photo or diagram showing:
- Which side is outside/secure side.
- Hinge position when viewed from outside.
- Whether the door swings inward or outward.
- Handle and latch orientation.
Confirm whether the selected lock is reversible in the field or must be configured before shipment.
How to Read a Smart-Lock and Mortise Drawing
A useful drawing should show panel dimensions, mounting-hole pattern, spindle/cylinder axes, cable opening, screw positions, applicable door range, and the full mortise geometry. Review the front and side views together.
Do not approve only a rendered product image. Ask these questions:
- Which dimensions are fixed and which change with the mortise option?
- Does the panel drill pattern change between standard, camera, or battery versions?
- Which spindle, screws, cylinder, and connecting rods are supplied for the door thickness?
- Can the latch direction be reversed without opening sealed electronic compartments?
- Where does the cable pass, and how is it protected from the mortise and door edge?
- What minimum stile width and internal case depth are required?
- Does the strike match a wooden, aluminum, or metal frame?
SINON's catalogue lists common options including 3585, 4585, 5050, 5572, 6068, and 6085. Treat these as starting categories. The drawing, sample, and real door determine compatibility.
The 10-Photo Fitment Pack
For a faster model recommendation, send clear, well-lit images without personal security information or visible active access codes:
- Full outside view of the closed door.
- Full inside view.
- Door edge with the lock and faceplate.
- Frame and strike.
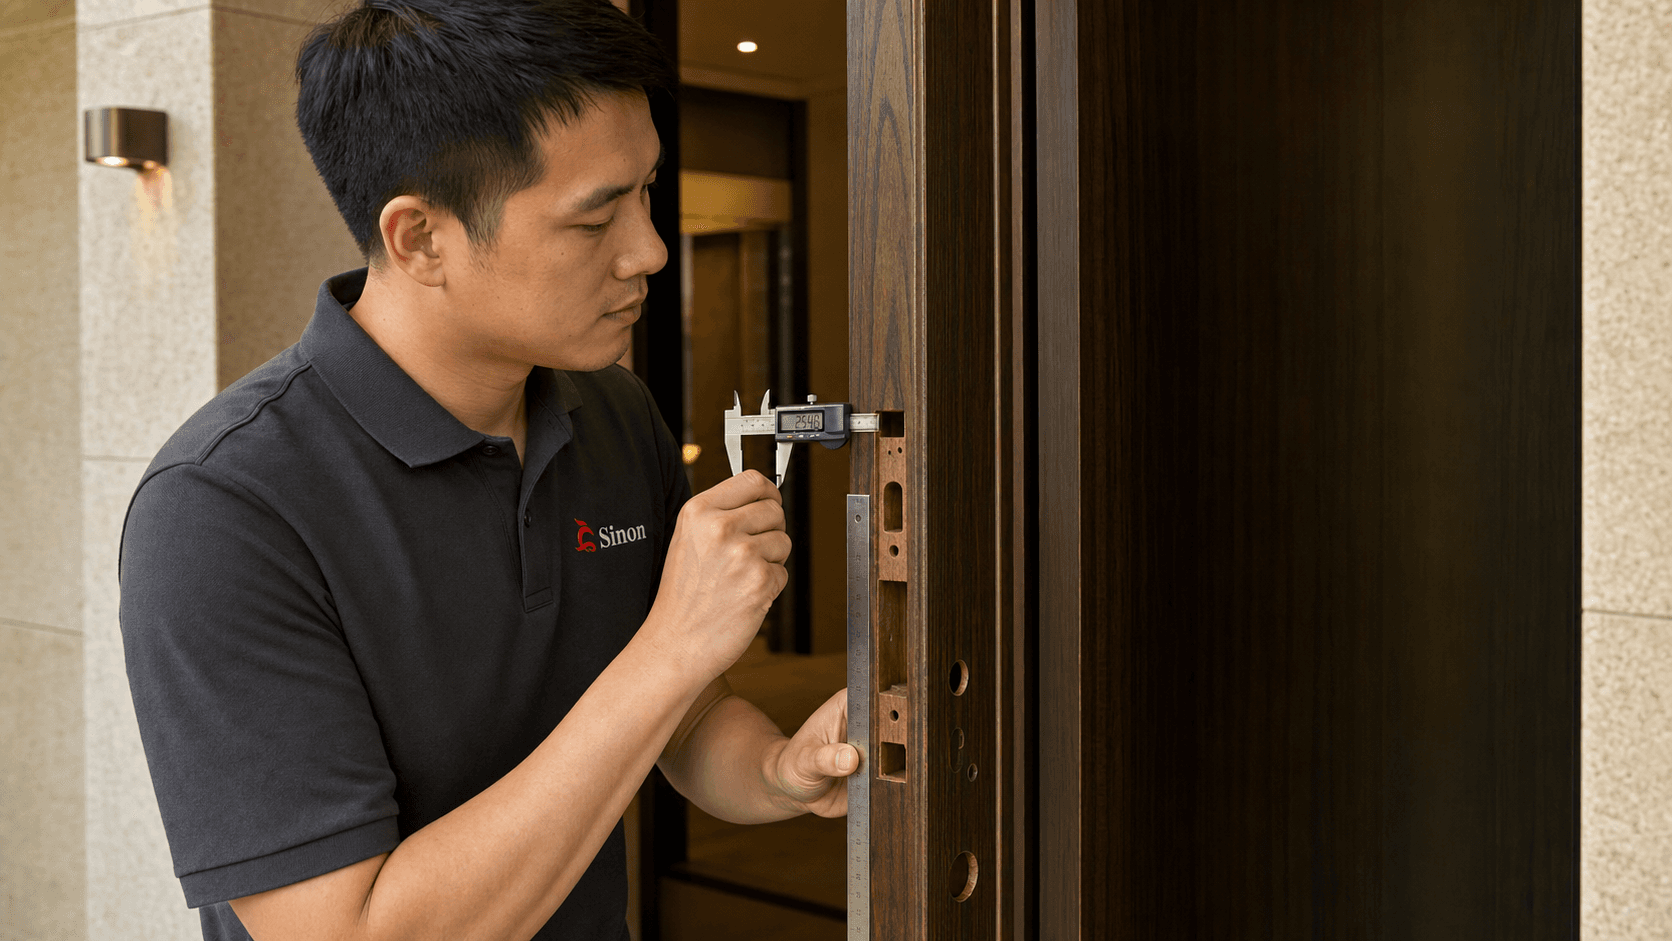
- Door thickness with a ruler or caliper.
- Backset with start and center points visible.
- Handle-to-cylinder center distance.
- Available flat panel area on the outside.
- Available flat panel area on the inside.
- Existing mortise removed, or its manufacturer/model/drawing, where practical.
Add a short video showing the door closing, latching, locking, and opening. This can reveal frame pressure, sag, multipoint operation, or an automatic latch sequence that still images miss.
Build a Door Schedule for Multi-Door Projects
A project may appear to have 100 identical doors but contain several door types, thicknesses, handing arrangements, and frame conditions. Create a door schedule before ordering.
| Field | Example format |
|---|---|
| Door ID / location | B2-0204 apartment entry |
| Quantity of this type | 24 |
| Door and frame material | Steel door / steel frame |
| Thickness | Measured value in mm |
| Opening | Outside view: hinges left; inward swing |
| Existing preparation | Mortise model/drawing or bore details |
| Backset / centers | Measured values with marked photo |
| Flat panel clearance | Outside and inside values |
| Exposure | Interior, sheltered exterior, or direct weather |
| Required access | Fingerprint, PIN, card, app, key |
| Platform / management | Local, Tuya, TTLock, gateway/API needs |
| Evidence files | Photo and drawing filenames |
Group doors only after the data confirms they are equivalent. Order and install a representative sample on each door group.
Sample Installation: What to Check Before Approval
Installation should be documented, not treated as a showroom demonstration.
Before drilling
- Confirm door ownership and authorization to modify it.
- Check for concealed wiring, glass, reinforcement, fire-rating implications, and door-manufacturer restrictions.
- Compare the paper template to the actual hardware; printers can scale documents incorrectly.
- Verify the lock and mortise versions against the approved drawing.
- Protect finishes and prepare the correct metal/woodworking tools.
During installation
- Record drilling or cutting changes to the original door.
- Deburr metal openings and protect cables from sharp edges.
- Keep cables away from moving bolts and spindle parts.
- Tighten panels evenly without deforming the door skin.
- Confirm latch bevel, handing, spindle engagement, and cylinder/key operation before final closure.
Functional commissioning
- Test the door open and closed.
- Verify latch and bolt movement without pushing or lifting the door.
- Enroll and remove each supported credential type.
- Test incorrect attempts, lockout behavior, low-battery warning, emergency power, and mechanical key.
- Pair the exact app/platform version and test the gateway at the intended location where applicable.
- Confirm event time, time zone, user role, and credential expiry.
The result should include installation time, tools, modifications, issues, photos, and final pass/fail criteria. This is the experience-based evidence a distributor needs for manuals, installer training, and return-cost forecasting.
Special Application Notes
Outdoor gates
Check direct rain, sun, drainage, temperature, salt or corrosive exposure, and whether the inside panel is also exposed. Review the complete ingress-protection test evidence and installed orientation. IP65 and IPX6 communicate different tested attributes; “X” means no solids rating is stated in that code. Neither rating replaces installation sealing, drainage, corrosion review, or a weather cover where conditions demand one.
Fire-rated and egress doors
Do not modify a fire-rated or emergency-egress assembly without approval from the responsible building professional and applicable authorities. Lock selection and installation must preserve required life-safety operation.
Glass doors
Confirm glass type, thickness, edge clearance, door width, single/double leaf, fixed panel, and mounting bracket. Do not drill tempered glass on site.
Multipoint doors
Determine whether lifting the handle engages bolts, whether the cylinder drives the gearbox, and whether the smart hardware has enough torque and the correct mechanical interface. A smart cylinder may be more appropriate than replacing the entire multipoint mechanism in some applications.
Common Fitment Mistakes and Corrective Actions
| Mistake | Likely consequence | Prevention |
|---|---|---|
| Selecting by front-panel style | Mortise or mounting mismatch | Approve full drawing and door data first |
| Sending only a front photo | Supplier cannot see edge, strike, or thickness | Use the 10-photo pack |
| Treating all “6068” bodies as identical | Hole or case mismatch | Compare every dimension and sample |
| Ignoring inside clearance | Battery panel hits trim or screen door | Measure both sides and opening path |
| Assuming app support means remote control | Missing gateway or network dependency | Define connectivity and test on site |
| Installing on a misaligned door | High motor load and unreliable locking | Repair hinges/frame/strike first |
| Mixing door types in one project | Field modification and delay | Create a door schedule and type groups |
FAQ
Can a smart lock fit any door?
No. Different doors require different lock architectures and preparations. Compatibility must be confirmed using dimensions, drawings, photos, and preferably a representative installation.
What is the most important door measurement?
There is no single measurement. Door thickness, backset, mortise or bore preparation, center distances, and mounting clearance work together. A correct backset does not help if the mortise is too deep for the profile.
What does a 6068 mortise mean?
In common market usage it often refers to approximately 60 mm backset and 68 mm handle-to-cylinder center distance. However, case, faceplate, latch, bolt, and hole details can vary. Approve the supplier's dimensional drawing.
How do I know whether I need a rim lock, mortise lock, deadbolt, or smart cylinder?
Start with the existing door preparation and desired modification level. Rim locks mount largely on the surface, mortise locks use a case in the door edge, deadbolts often use cylindrical bores, and smart cylinders can retain an existing compatible mortise. An installer should validate the choice.
Can I order the lock before the doors are manufactured?
Yes, and new-door projects can be easier if the door factory receives the approved lock and mortise drawings before machining. Coordinate tolerances, reinforcement, cable route, strike, finish protection, and a first-article door assembly.
What should I send for a model recommendation?
Send door material, thickness, outside/inside photos, door-edge and strike photos, opening direction, all relevant dimensions, existing lock drawing if available, quantity, environment, access methods, platform, and target market.
Conclusion
Smart-lock compatibility is a documented engineering decision, not a visual guess. The fastest route to a reliable installation is to classify the door, capture complete measurements and photos, compare them with the lock and mortise drawings, and test a representative assembly before volume purchase. For multi-door projects, a door schedule and type-based sample plan turn field uncertainty into manageable product requirements.
Evidence reviewed
This guide combines the current SINON portfolio context with the primary sources below. Regulations, platform capabilities and model configurations change; verify the exact SKU and destination-market requirements before purchase. AI images on this page are illustrations, not documentary proof of testing, certification or customer projects.